
Installation
Follow the guidelines below carefully to install and configure Sheet Issue.
The SheetIssue.MSI file installs all data to the folder C:\Program Files\MonkeyFlow\SheetIssue or \SheetIssue_BricsCAD if using BricsCAD and will do the following:
-
Automatically loads the Sheet Issue ribbon into AutoCAD / BricsCAD.
-
Copies the Sheet Issue Plot Configuration (PC3 and PMP) files to the installation folder, then copies them to the correct location on your PC as configured in AutoCAD / BricsCAD.
-
Copies the Sheet Issue title sheet DWT files to the installation folder, then copies them to the correct location on your PC as configured in AutoCAD / BricsCAD.
-
Copies the Sheet Issue Plot Styles (CTB) files to the installation folder, then copies them to the correct location on your PC as configured in AutoCAD / BricsCAD.
-
Sets the Support Files Search Path and Trusted Locations location paths in AutoCAD / BricsCAD.
Once installation is completed we advise reading the pages in DWT Title Sheets.
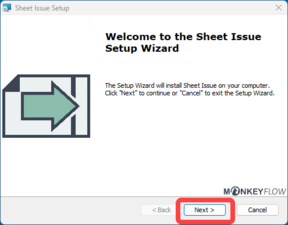
1. Close all running versions of AutoCAD / BricsCAD.
2. Double click the Sheet Issue installation MSI file.
3. Follow the instructions on the screens to install.
Sheet Issue will be installed to the folder C:\Program Files\MonkeyFlow\SheetIssue or \SheetIssue_BricsCAD if using BricsCAD.
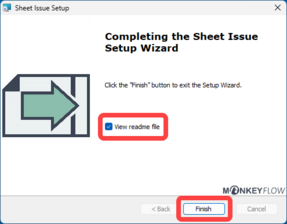
4. The final install screen is shown below, ensure the View readme file box is checked to open the User Guide.
5. Open AutoCAD / BricsCAD - the Sheet Issue ribbon will load into the interface automatically.
Should you wish to use the Sheet Issue pull down menu type MENUBAR at the command prompt and set to 1.
6. Sheet Issue should now be installed.
The auto-load of Sheet Issue may encounter issues if CAD configurations have been changed from default settings.
Should your Sheet Issue not be loaded please follow the steps outlined in the Troubleshooting FAQ section.